Our adventures in the great outdoors with Comet the dog.


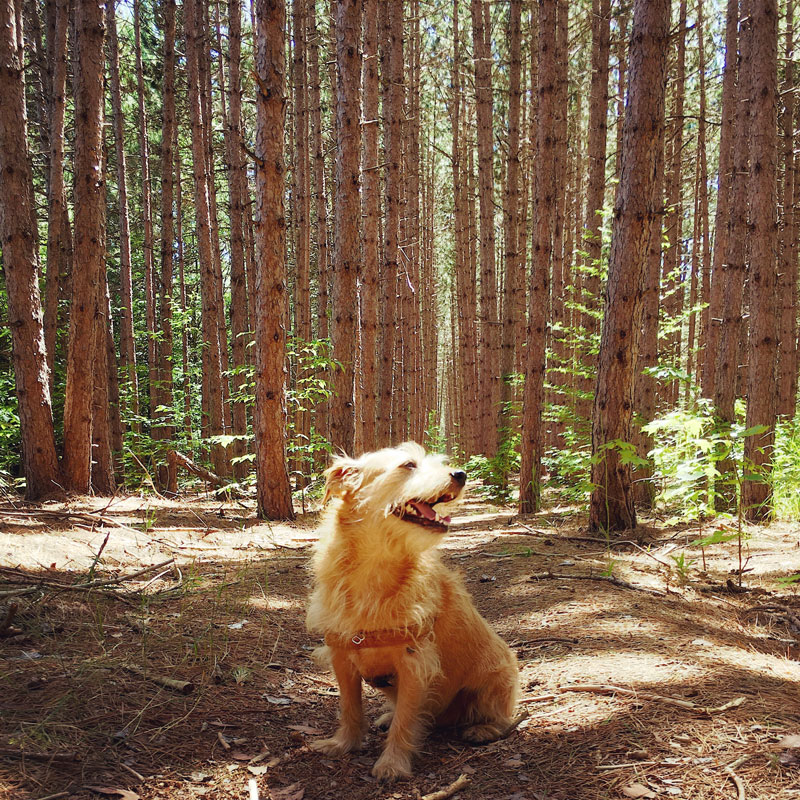


Comet is a well-traveled dog. He has been at my side almost every day since I found him abandoned at the Chicago lakefront. He’s traveled and lived with me in Europe, and all over the United States. He can be annoyingly grumpy the way small terriers have a reputation, or incredibly sweet, but he’s well-loved.
Anyone lucky enough to invite a dog into their life understands the mutual benefit from their company, and also the extra effort required to bring them with you when traveling. Additionally, many of our Nation’s wilderness attractions are not dog-friendly, with some completely off-limits. I understand the reasons behind these bans, believing that managing the behavior of so many park guests requires the most practical means of enforcement, often bans.
While I support the expansion of dog-friendly activities in our Nation’s Park systems, there remain many great opportunities for a dog and their owner(s) to partake in without the FOMO.
Comet is an old dog now at 16 (2022), but aside from the longer naps, he remains energetic and youthful when exploring the great outdoors, and I’m really looking forward to adding as many new outdoor adventures to our lives as we can.

DAVID ANDORA
David’s really a jack of all trades and has spent his adult life as an independent creative director working on a wide variety of projects.
Learn more at davidandora.com
SEAN HUNT
Sean’s an actor specializing in musical theatre and comes from a large musically talented and creative family.
Learn more at seanmichaelhunt.com
David and Sean have been an item since 2011, and with a diverse set of unique and shared skills, have effectively collaborated, professionally and personally, ever since.

ADVENTURE
AWAITS
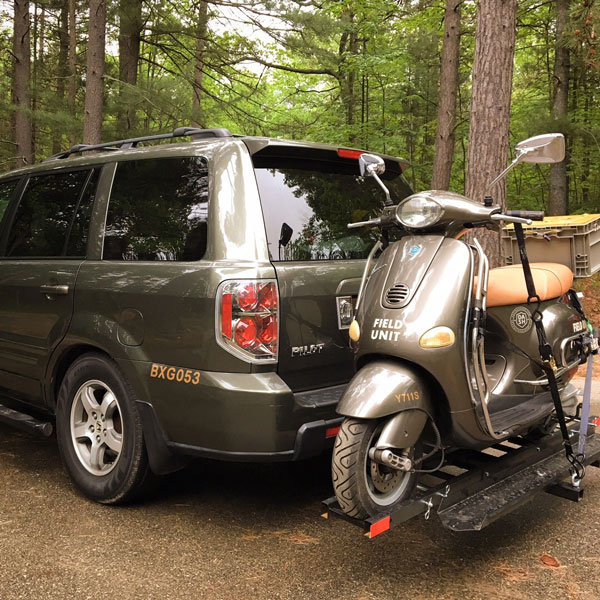
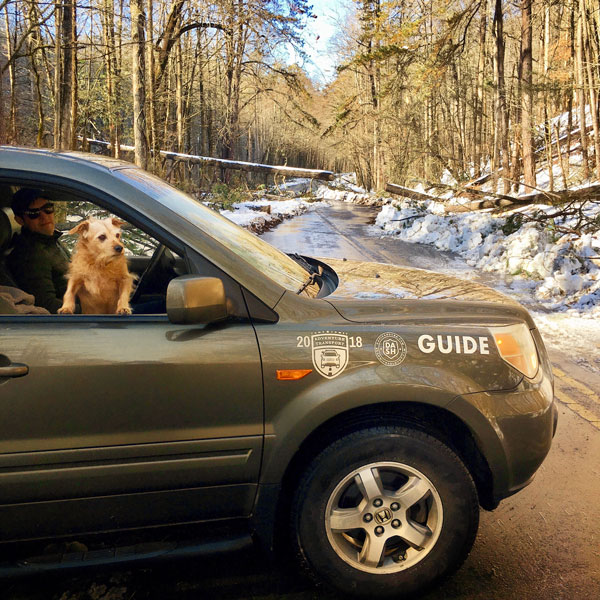
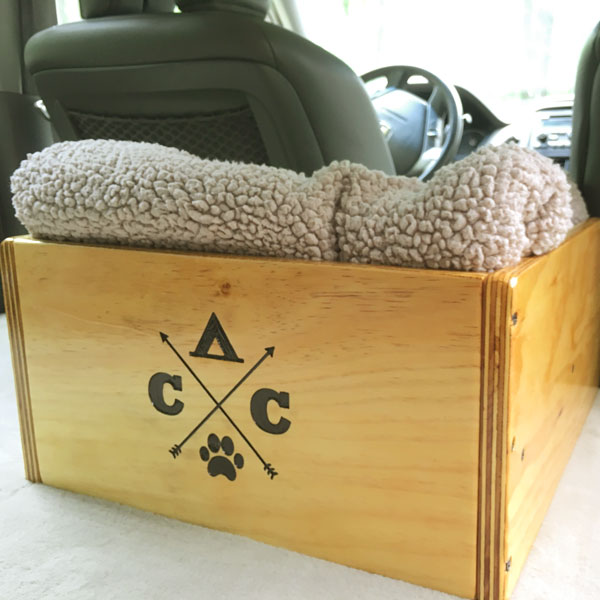
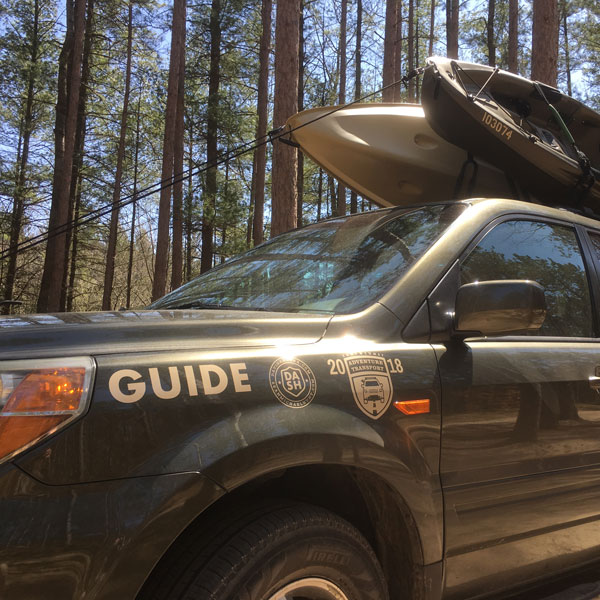
Our 2006 Honda Pilot is reimagined as our Adventure Transport and serves as our primary transportation for our excursions.

CAMPER
RENOVATION
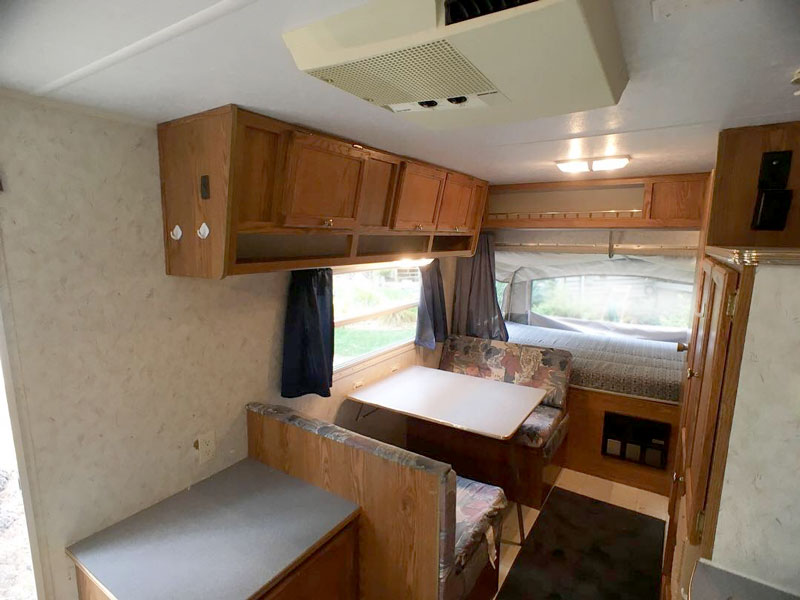
We picked up a 20ft. ’99 hybrid camper trailer and are renovating it for a nearly 2 month long summer adventure.




STOCK SPECIFICATIONS
20′ hybrid travel trailer
12v/110v 35 amp breaker
12v 70Ah battery
2 tent wings:
1 full, 1 queen
roof tv antenna
2 roof vents
shower/toilet closet
propane furnace
110v air conditioner
2 burner gas range
dinette & lounge areas
propane/electric refrigerator
HEY LOOK, A CAMPER-RENOVATION BLOG!
There certainly are plenty of RV/Camper renovations to be found online, but I think we might be able to add something new to the mix. Sean and I are skilled and experienced designers and makers, with a vast resume including many complex and unusual projects. I believe we are approaching this project from a different perspective than many of the blogs and Pinterest posts I’ve seen. We are, however, newcomers to the recreational vehicle world, so everything we’re doing is requiring a vast amount of research borrowing on the experience of others.
We’re counting on making mistakes and probably discovering some choices we might have made differently, but that’s pretty much life, right?
We’re planning a nearly 2-month long adventure this summer with our good friend John (misterjohnsmusic.com), and after investigating pricing on RV rentals, decided that we’d rather invest those funds into a camper of our own, as there exists a great potential of its usefulness after this excursion. Our Honda Pilot has a lower, but capable towing capacity, and we would appreciate the tent-like sleeping experience of a hybrid camper’s pop-out bed wings, so a lightweight hybrid travel trailer made the most sense for us.
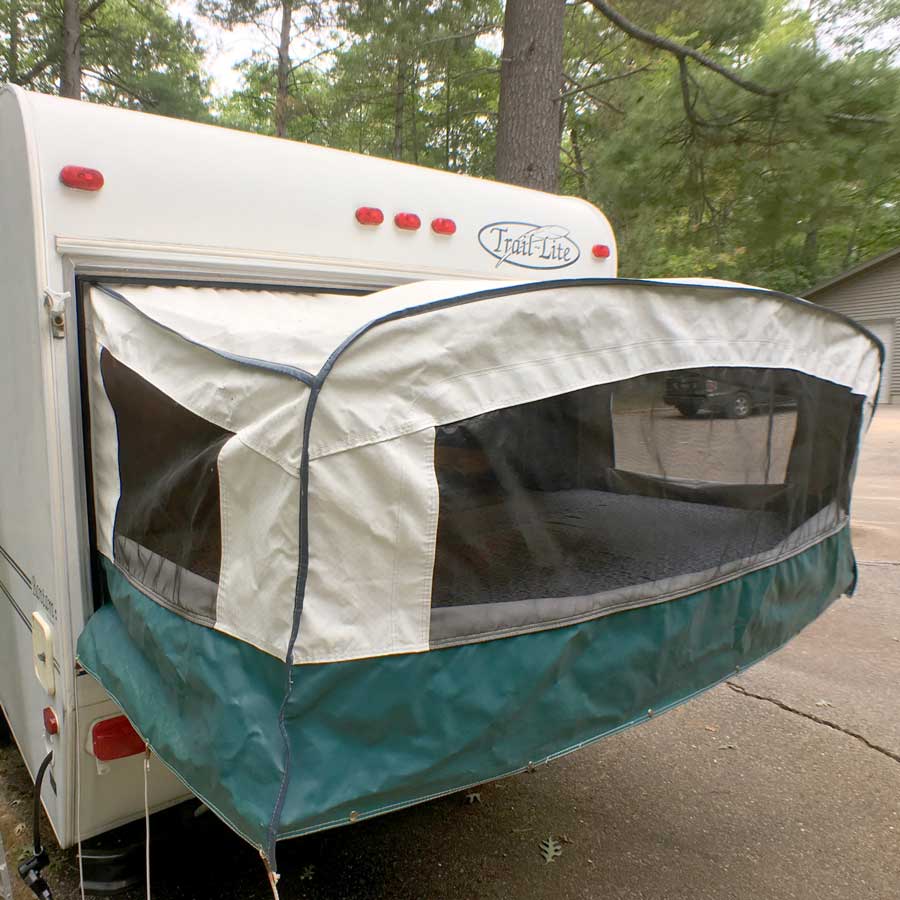
We found a used, 1999 Trail-Lite Bantam nearby and liked the basic specs of it, including the general structure and size. We knew that we would be performing a visual and functional transformation of most everything, so it was primarily important that the main structural and mechanical components of it were in good shape with no serious signs of damage. There’s always some risk in buying a used camper, but we think we picked one that we’ll be happy with.
REMOVING EXTERIOR DECALS
With winter approaching, it was important to get as much removed from the camper as possible to give us enough time in the spring to rebuild.
We started by removing the sun-baked decals from the exterior. We used a 3M stripe-off wheel, which is like a spinning eraser that buffs the vinyl off in tiny shreds. One lesson we learned is that too much pressure will make burn marks in your fiberglass. Thankfully minor sanding removes the few surface blemishes we created.
One of the things that fascinates me about the RV industry are the ubiquitous “swoopy-swoosh” patterns covering the majority, across countless manufacturing facilitates. I’m curious who started them, and why they remain unchallenged by most. I’m sure they were intended to break up the boxiness by imparting an aerodynamic visual. For the most part, I think simple is the way to go, and also not ignoring the boxiness but working with, even appreciating it’s shape. Striping our camper of it’s decals was an immediate improvement for us.
We’ll have to continue with light sanding in the spring to remove the glossy ghost marks left from the decals and to prepare the surface for the new paint design we plan to apply. A proper finish on fiberglass should be a gelcoat, but we don’t have the proper spray equipment or a protected space to do that ourselves, and it’s entirely out of the budget to have it done for us. After reading dozens of opinions and consulting paint and coating professionals, we arrived at a commercial paint from Sherwin-Williams of all places. It’s a low-lustre satin/flat water-based marine coating which may require touchups on occasion, but given limited alternatives, that seems acceptable. We’ll be waiting for consistently warm weather to accomplish the paint.
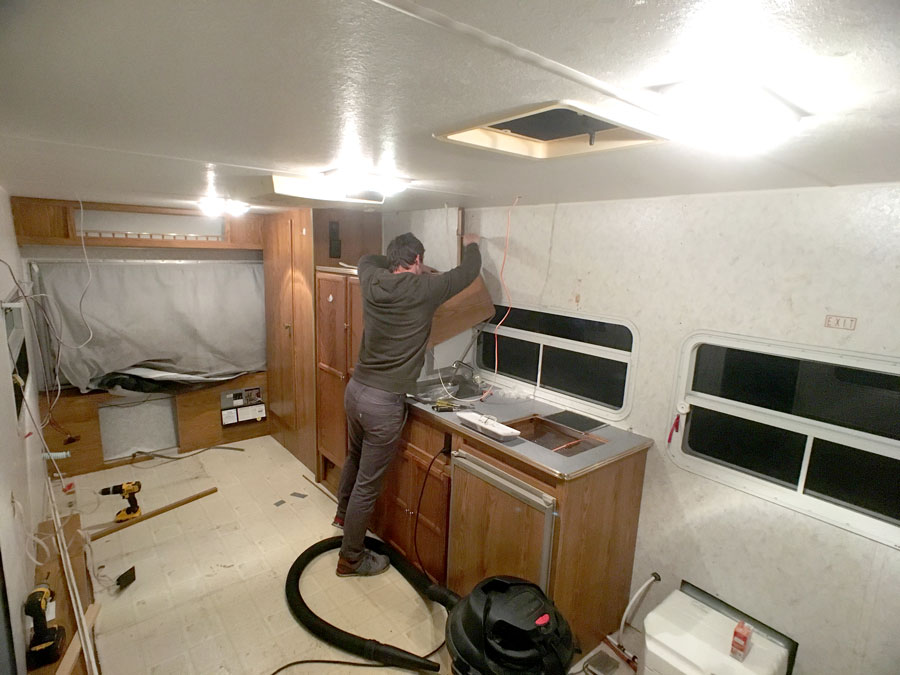
GUTTING THE INTERIOR
We knew that heading into this project that we’d keep elements with plumbing or gas in generally the same place because of their more significant infrastructure. Generally speaking, we’re planning to keep the general layout with the goal of greater usability, practicality, convenience and a style that suits us better.
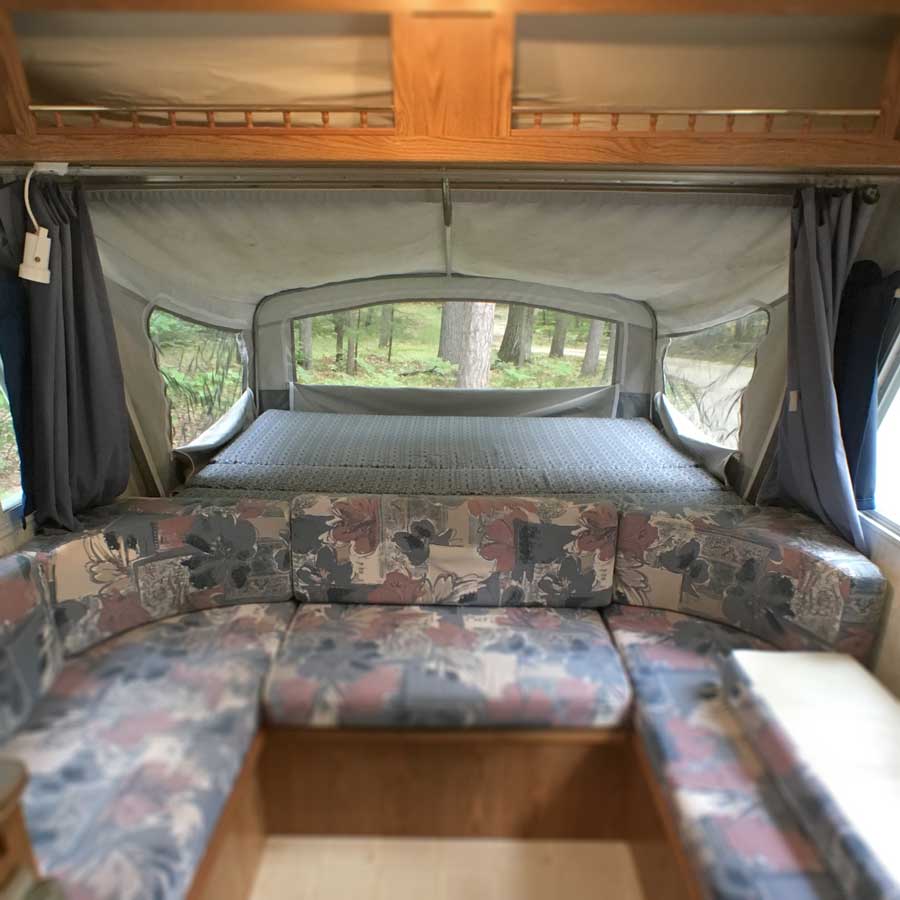
The interior of our camper is very late 80’s/ early 90’s. It’s full of kitsch, and you could go amplify the time-capsule nature of it and go full-on Golden Girls with fun results, but that’s not this project.
We were already someone familiar with RV, and knew they’re made from cheap materials, in part because cheap is often lightweight, but primarily just cheap. It’s also surprising just how many interior elements are the same across this industry. For whatever reason, there’s a surprising lack of imagination… or particularly good taste. One benefit from the small pool of materials, is that it’s fairly easy to find replacement parts that will fit.
While removing furniture and walls, we found the worst construction methods, including wild mistakes, items left inside inaccessible spaces, and other head-shakers. In my opinion, there’s an unfair markup on these things. The sum is definitely (sold as) greater than it’s parts, but unless you plan to build one from the ground up, your stuck with industry-set pricing.
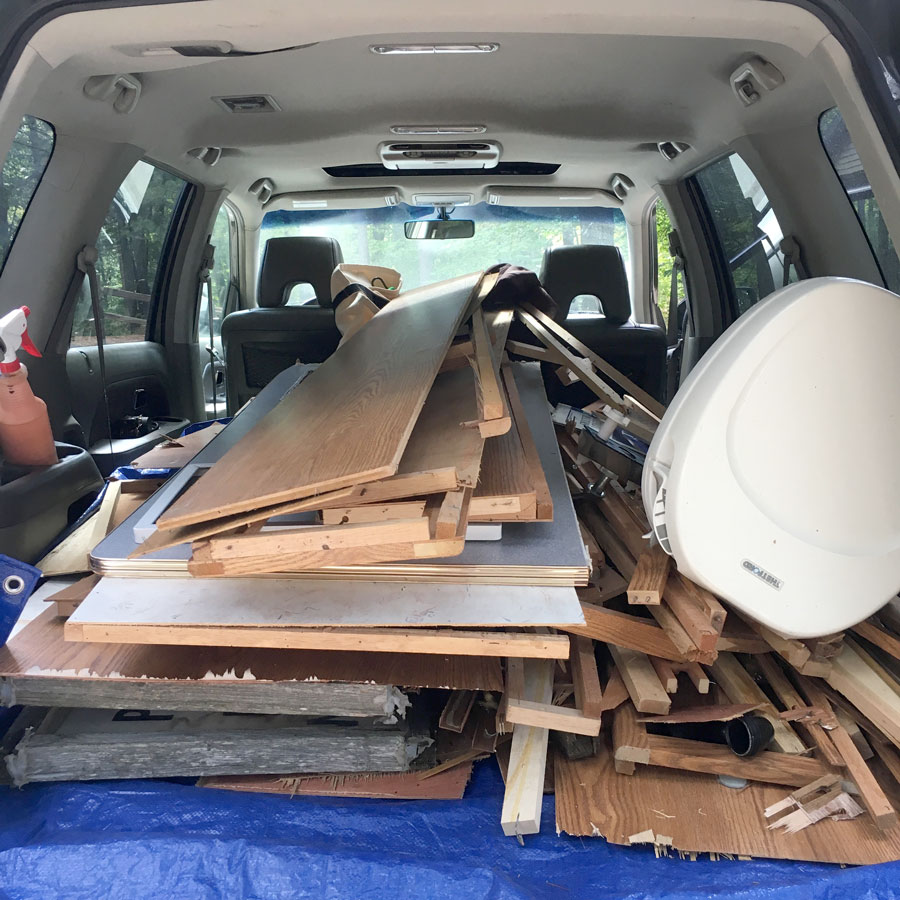
It doesn’t feel especially great taking all of this to the landfill…

We uncovered this extraneous "whoopsie" hole in the floor adjacent to the water tank drain.
REMOVING LINOLEUM & WALLPAPER
We pulled out the linoleum, which left a paper and glue residue. An affordable steamer tool along with a wide metal scraper made removing the residue much easier. The steamer was also helpful with removing the vinyl wallpaper. It left an adhesive residue over a good portion of the wood paneling, we’ll have to take a sander to gently remove it. It’s unsealed wood so chemical removers like goo-gone would leave an oily residue.
We’re also removing the vinyl from the ceiling, but are having a much harder time with that. It’s chipping apart in tiny fragments. Steamers are problematic and hazardous to use on a ceiling. We think we may try a chemical wallpaper remover/ vinyl softener, which will also be problematic and hazardous, but hopefully faster.
We really like the effect the exposed wood paneling has on the space. It really warms things up. I’ll talk about where we’re headed visually with the camper soon, promise!


SWATCHES
Here’s a big peak into what we’ve got planned for our camper.
An unreasonable amount of time was spent searching for, ordering and sorting through swatches for these materials to eventually arrive at what we hope will be ????????

Exterior paint swatches and flooring.
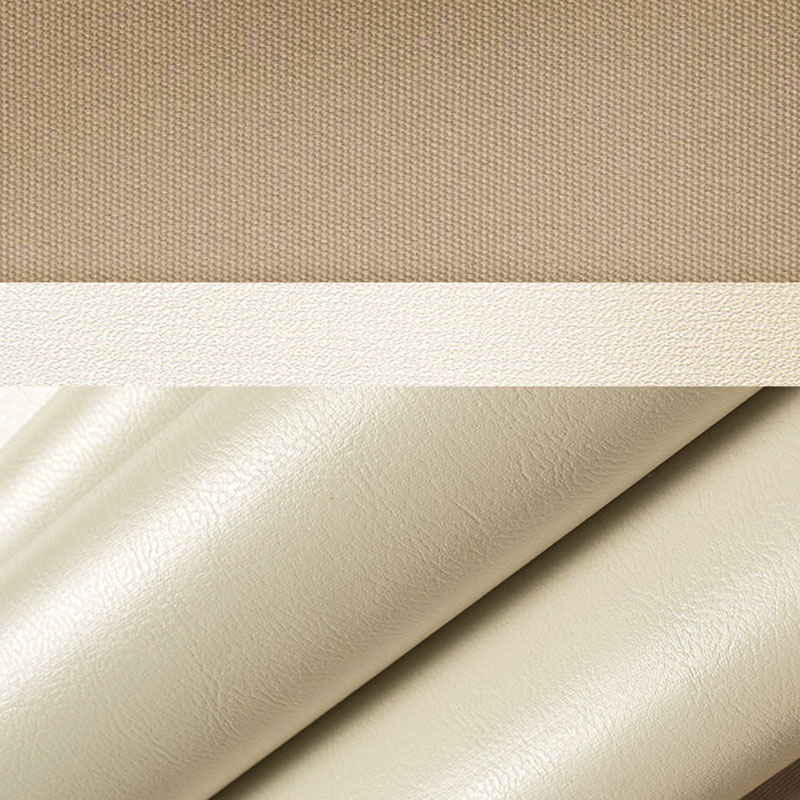
Fabrics for the brand new pop-out bed “tents”.

All upholstered seat cushions.

Custom plaid fabric for back rest cushions.
NEW BED-WING CANVAS
The “canvas” tents of our bed-wings were in okay condition. There was minor mildew stains on the dingy interiors. They were also made entirely from cheap appearing vinyl in colors that clash with the rest of our new color scheme.
I really like the tent-like sleeping aspect of a hybrid camper, but visually (from the outside), they’re my least favorite component.
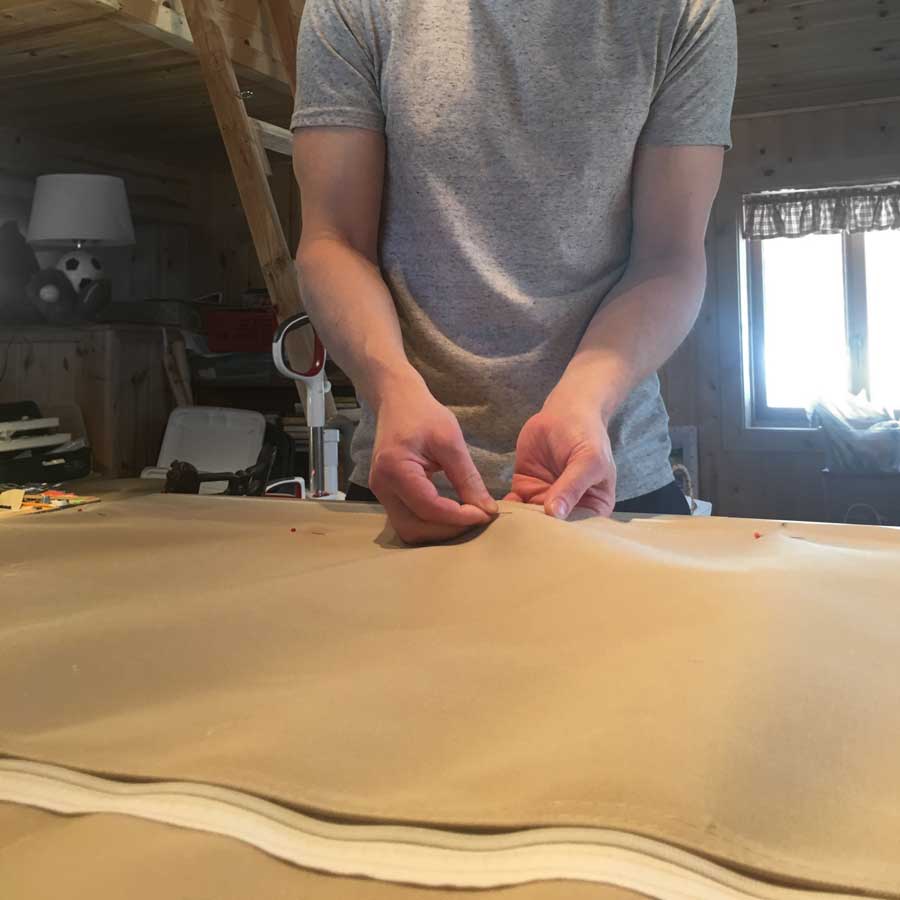
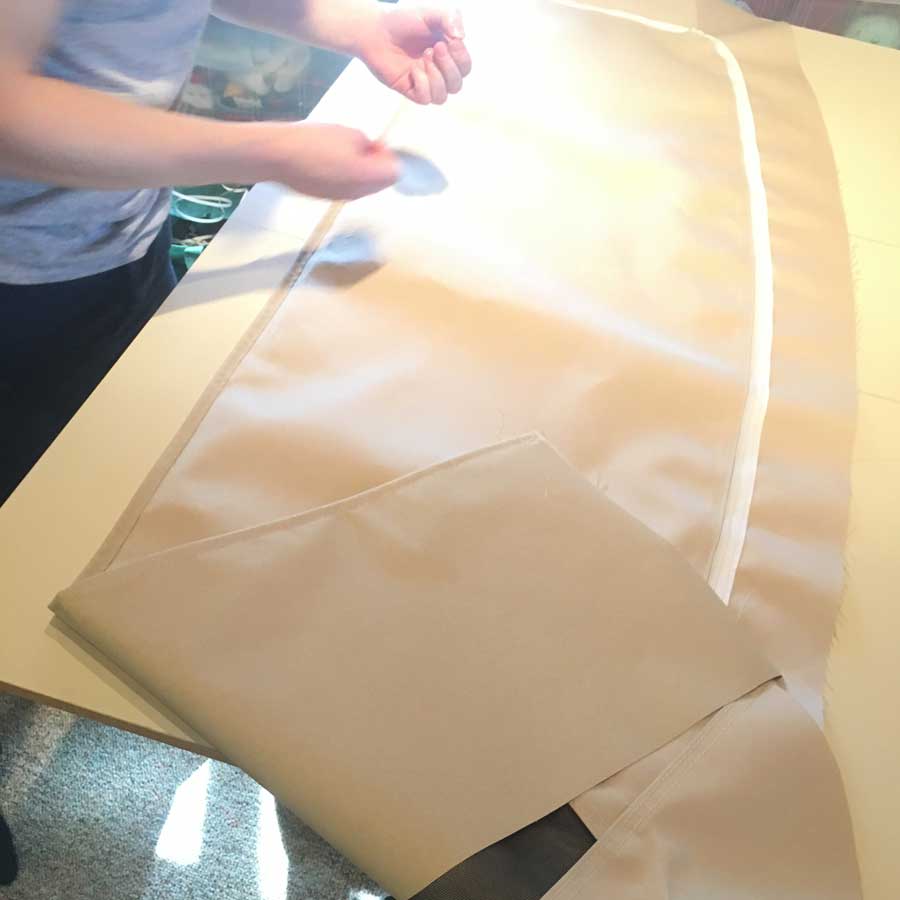
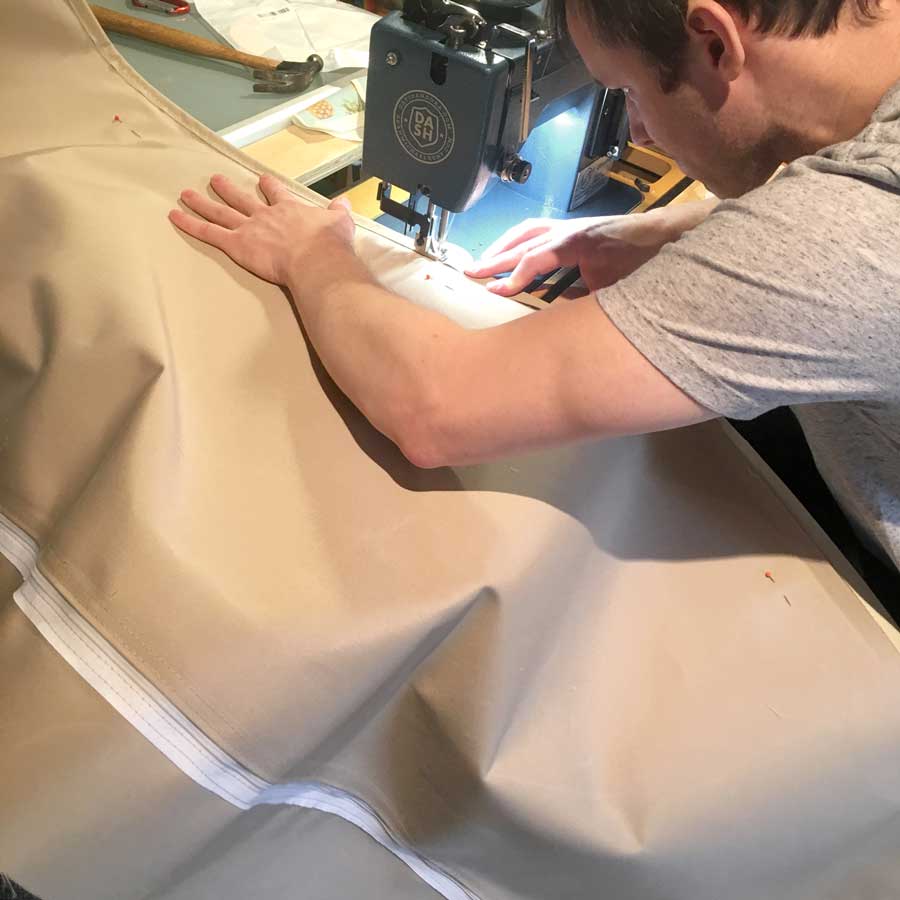
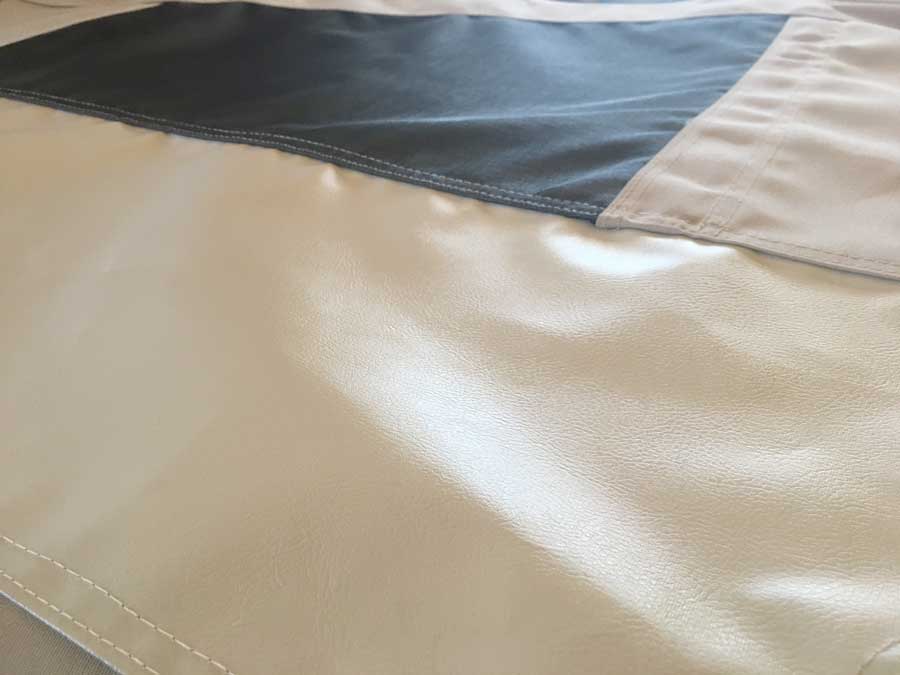
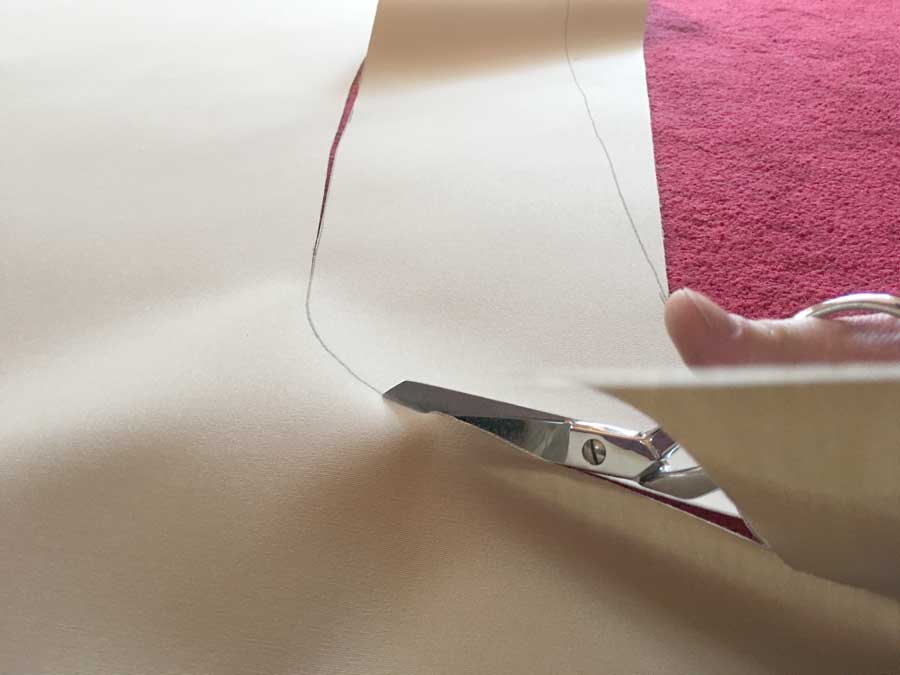
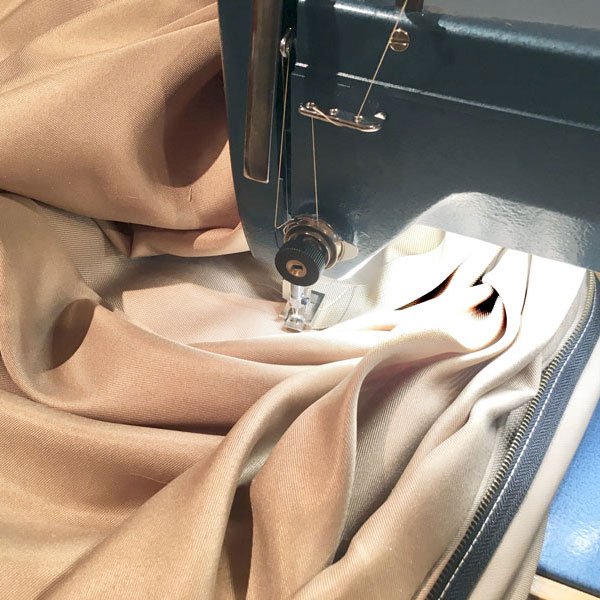
While not especially motivated to re-build them ourselves, we couldn’t find anyone to sew them in compatible colors, or with materials we specified. So we made them ourselves, patterning them directly off the disassembled vinyl canvas. There were minor adjustments compensating for stretching that had occurred. Sean did all the heavy-lifting, sewing the replacements from a light khaki palate. Our new Sailrite LSZ1 semi-industrial sewing machine handled the job effortlessly, and aside from a few requisite human-errors, they came together with no issues.
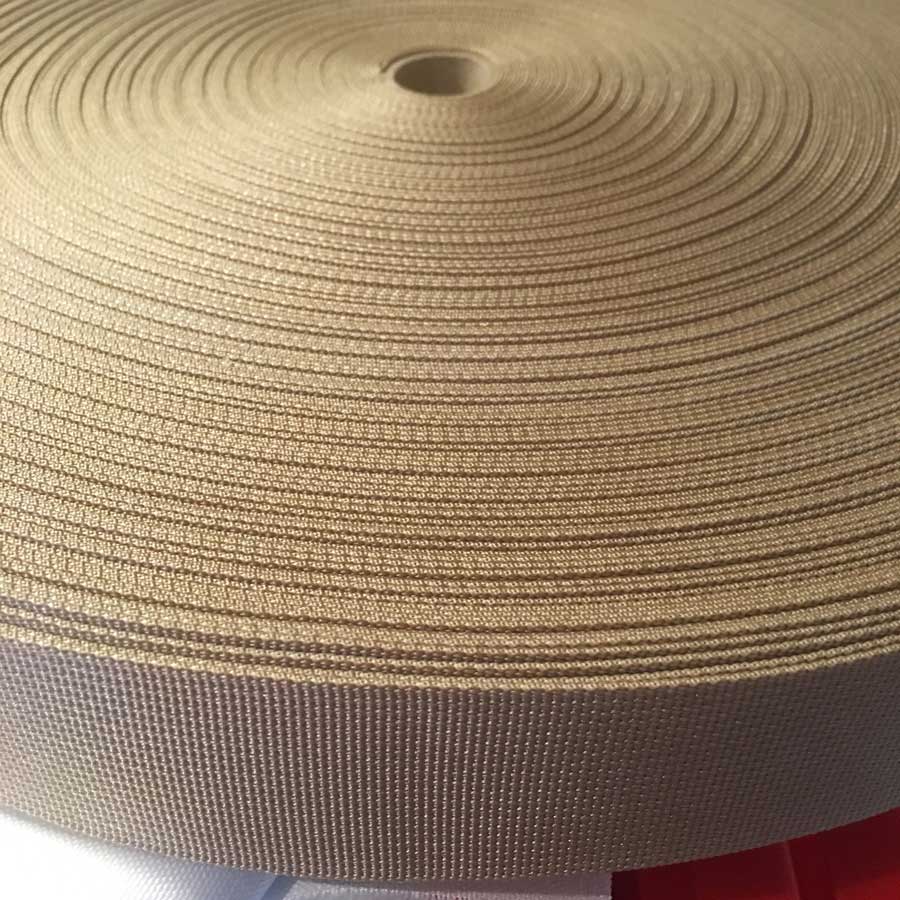
Attempting to make these canvas covers simultaneously more interesting and complementary, the new colors and additional details of rope and webbing reflect traditional canvas tents. I’ll detail our overall design direction in a future post which to elaborate.
We’ll have to wait until the spring to install and test their fit and show off the results. FIngers crossed they won’t need any adjustments!
WATER????DAMAGE
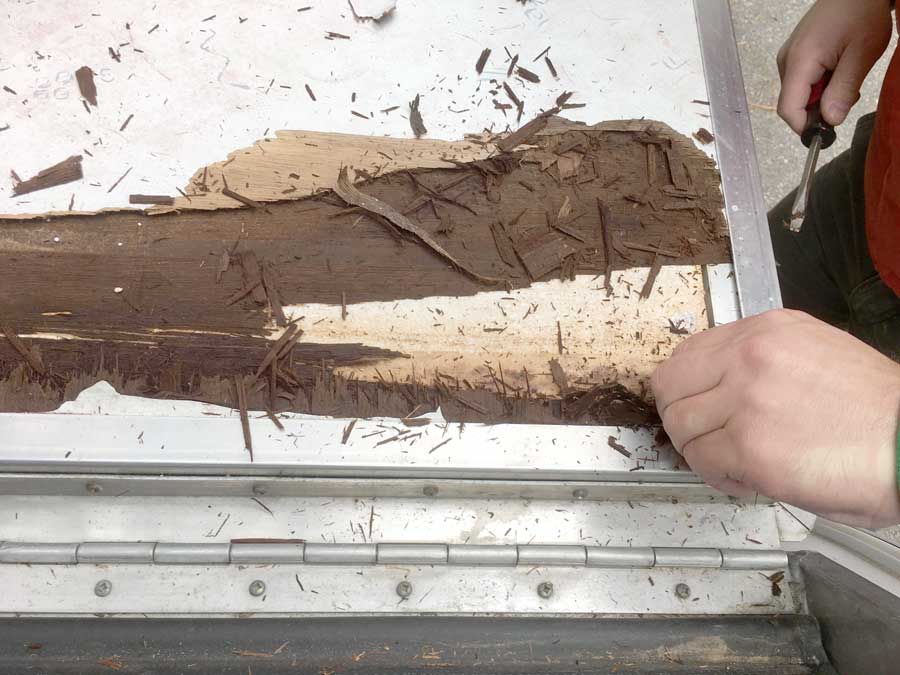
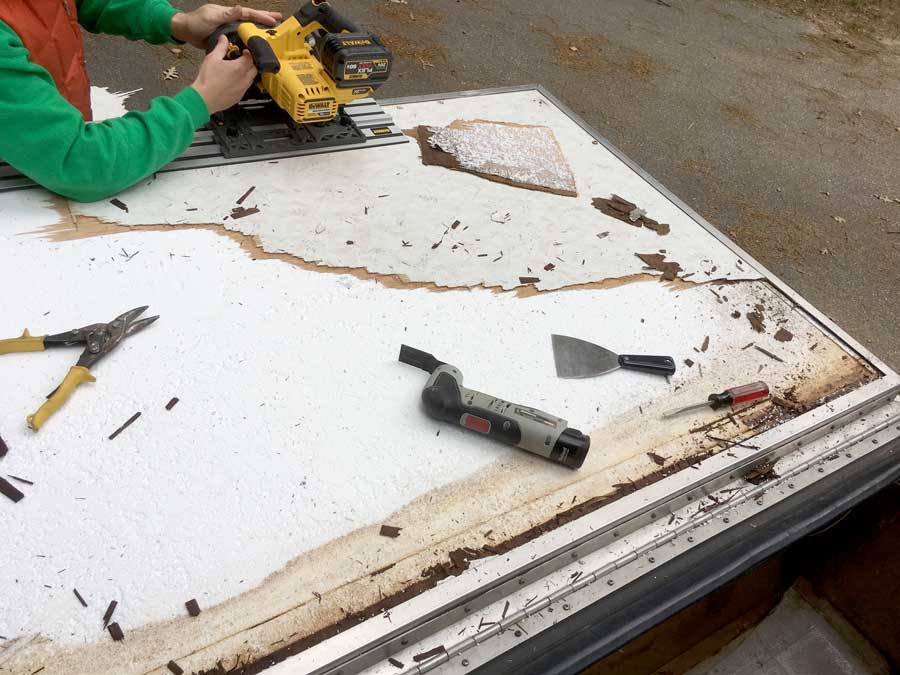
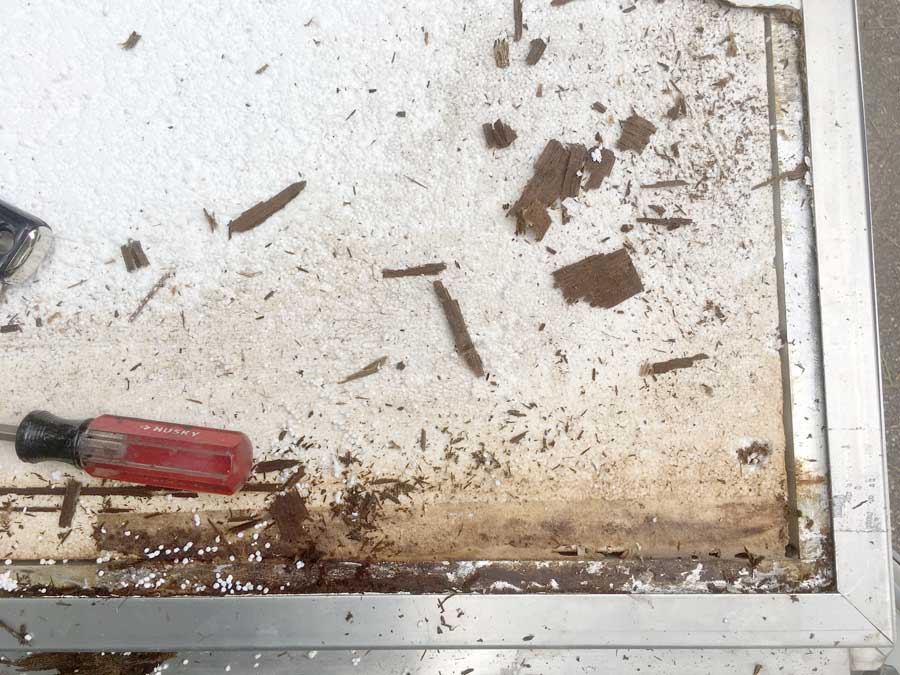
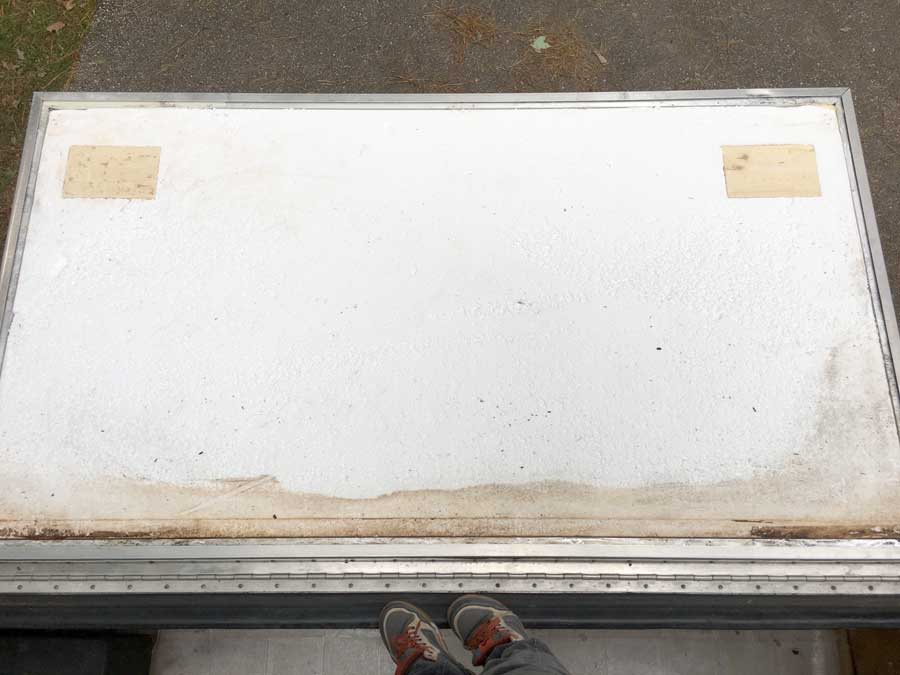
We discovered relatively minor water damage during the gutting process. When flushing the plumbing system we were alarmed to discover the kitchen sink drain wasn’t even connected. We were able to catch that quickly, and currently there’s no kitchen at all. Thankfully no squishy flooring or apparent current leaks, but both of the interior panels of the pop-out bed-wings weren’t in great shape upon closer inspection.
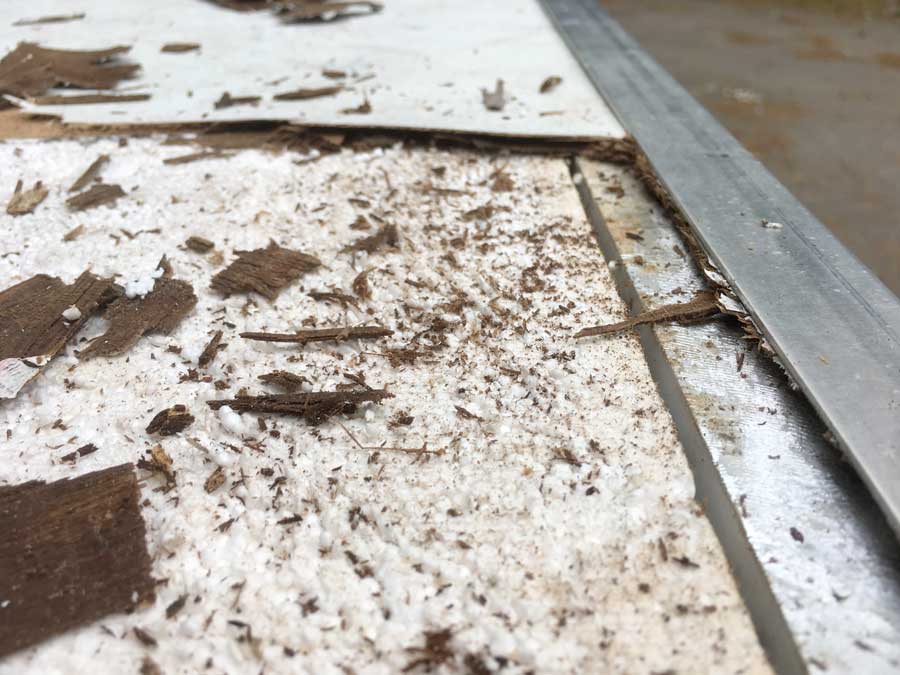
They are constructed in a manner that prevents them from being easily repaired which is really too bad, as they are more vulnerable to water damage. I believe most of the damage was caused around the weather seals that run the perimeter of doors. I imagine if they aren’t secured tightly enough and you are driving in the rain, you’ll get leaks.
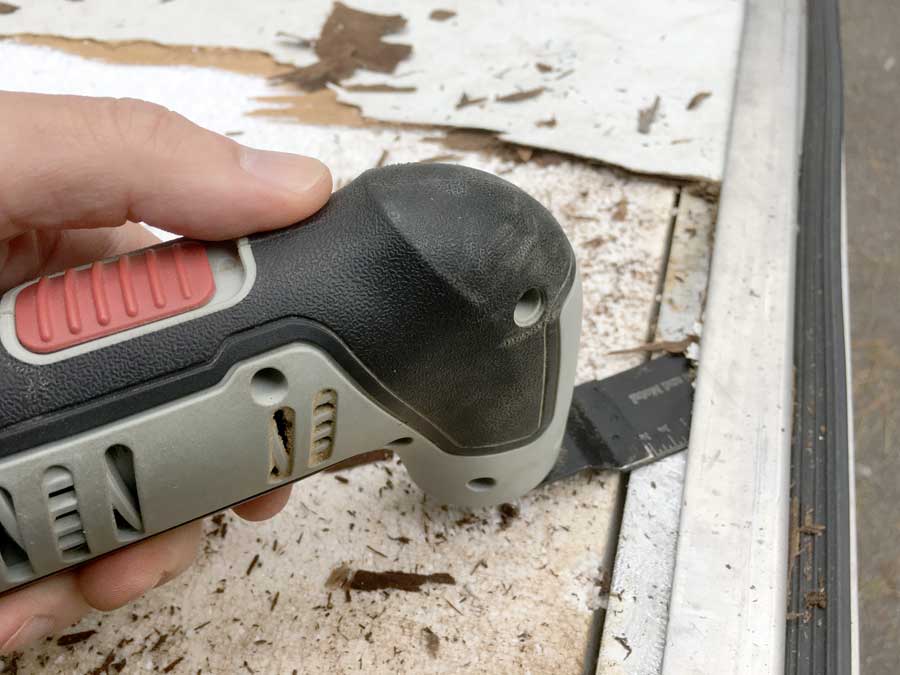
We spent a big chunk of time removing the damaged wood panel from the aluminum framework and found an oscillating blade tool to help with the really stuck bits. We found a lightweight plastic sheeting material to replace the wood and will have a fun time getting them inserted and in place without the adhesive “grabbing” too quickly/ in the wrong place. While we hope to prevent future leaks, the plastic material won’t be susceptible to water damage.
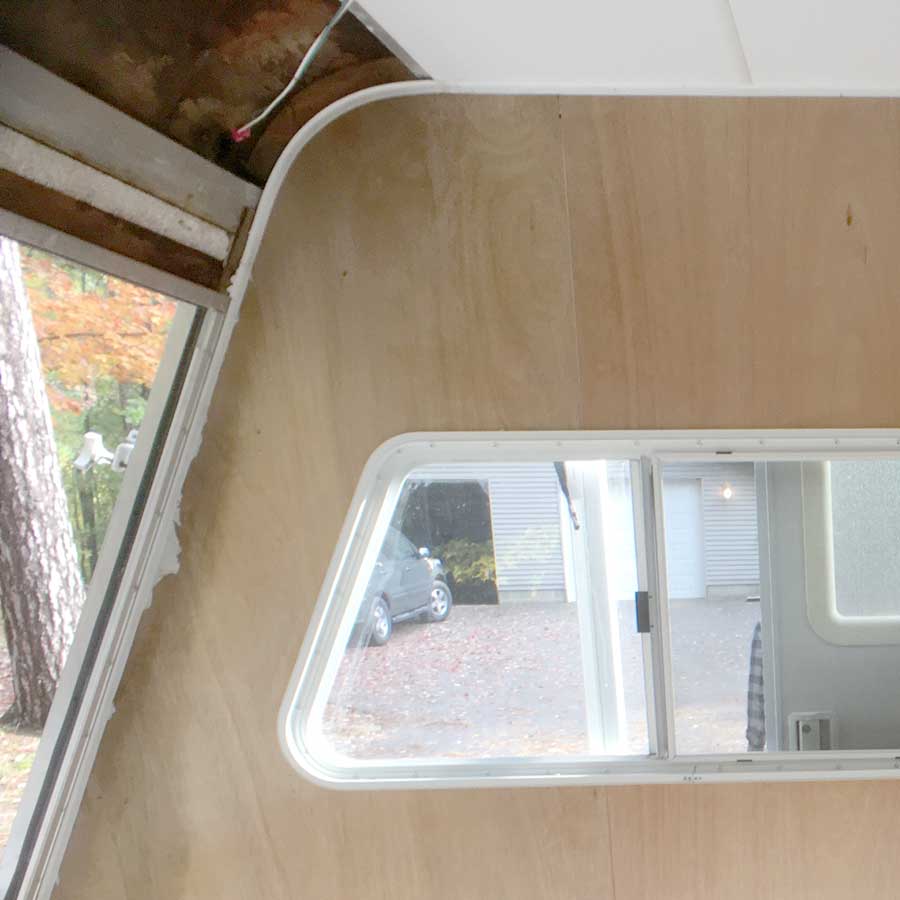
A curved, upper interior panel will also need to be replaced, and we’ll probably have fun curving the replacement into that corner without cracking it. (Ironically, moisture may help.)
FRIDGE UPGRADES
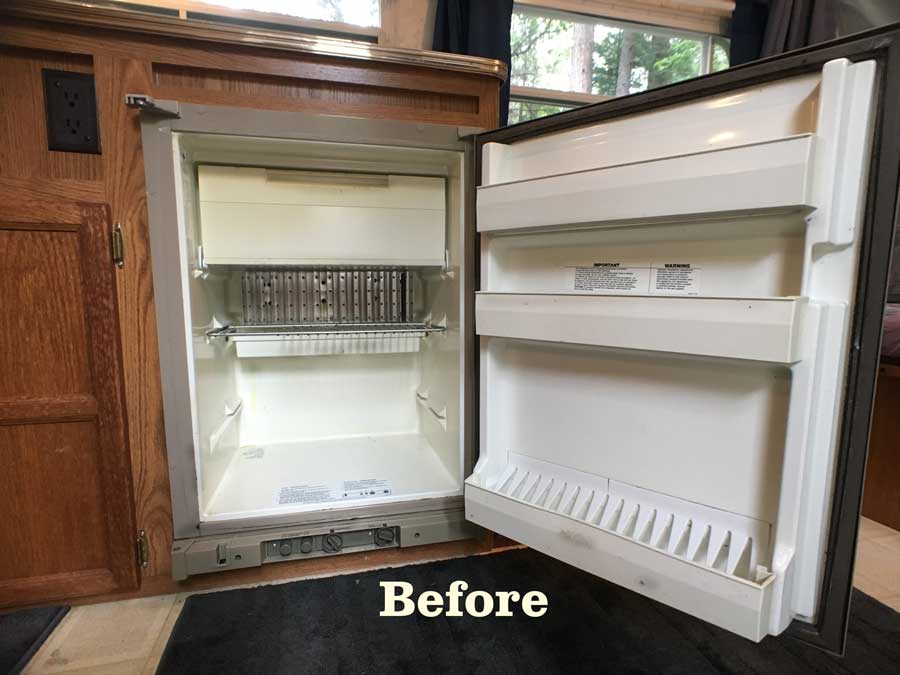
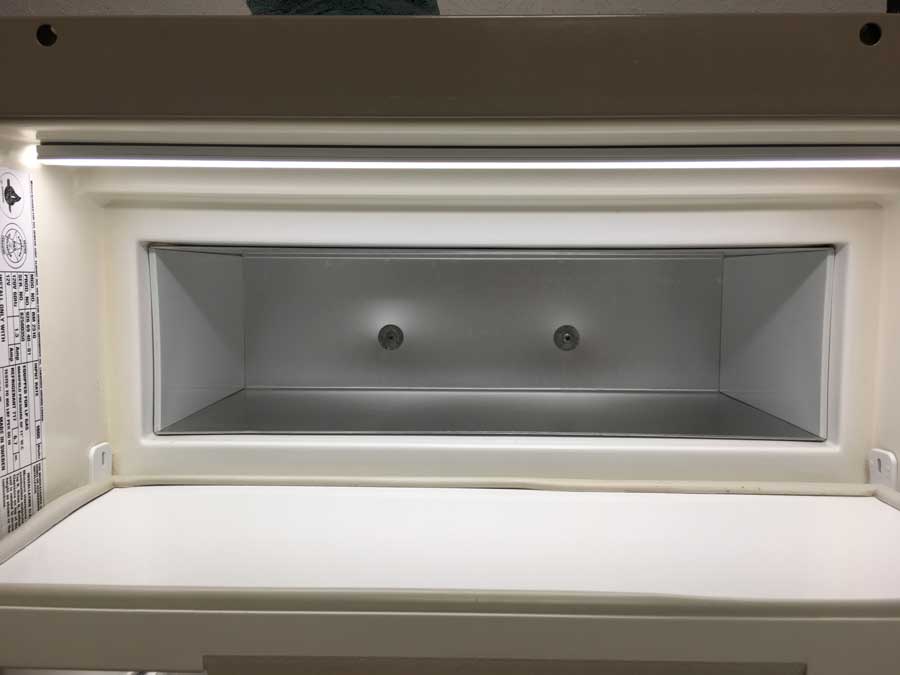
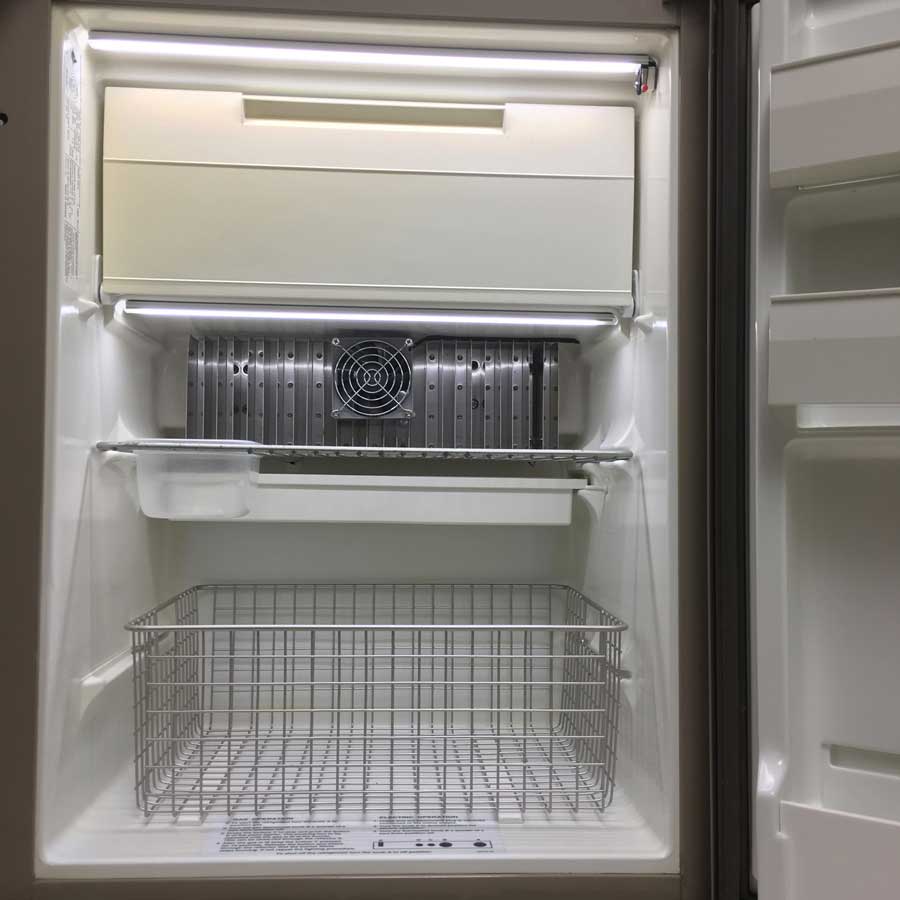
Our small propane/electric refrigerator got some upgrades.
First, a thorough cleaning of all interior and exterior components, which included paint touch-ups, and rust and discoloration removal, more than can be seen in the before image.
We then added:
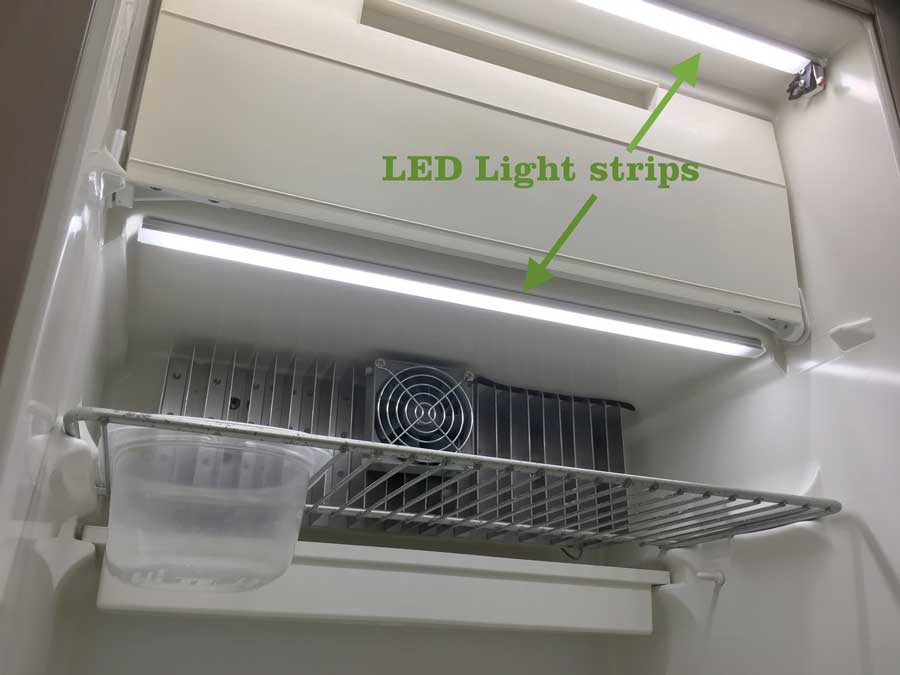
-Two strips of LED tape. The upper section illuminates the freezer compartment when the door is open.
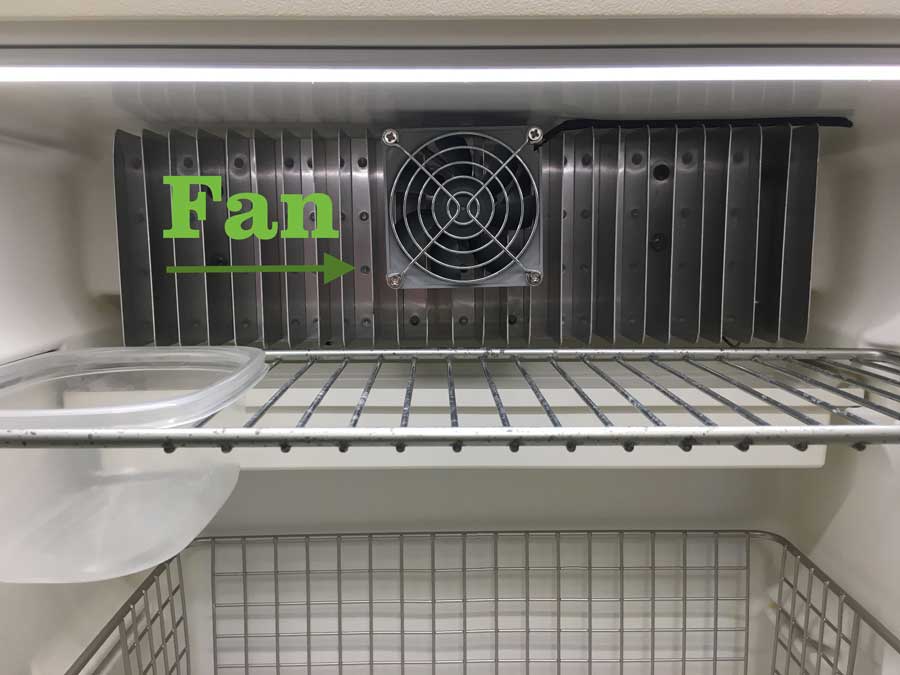
-A low-power computer fan circulates air, keeping everything colder, and reducing the initial cool-down period.
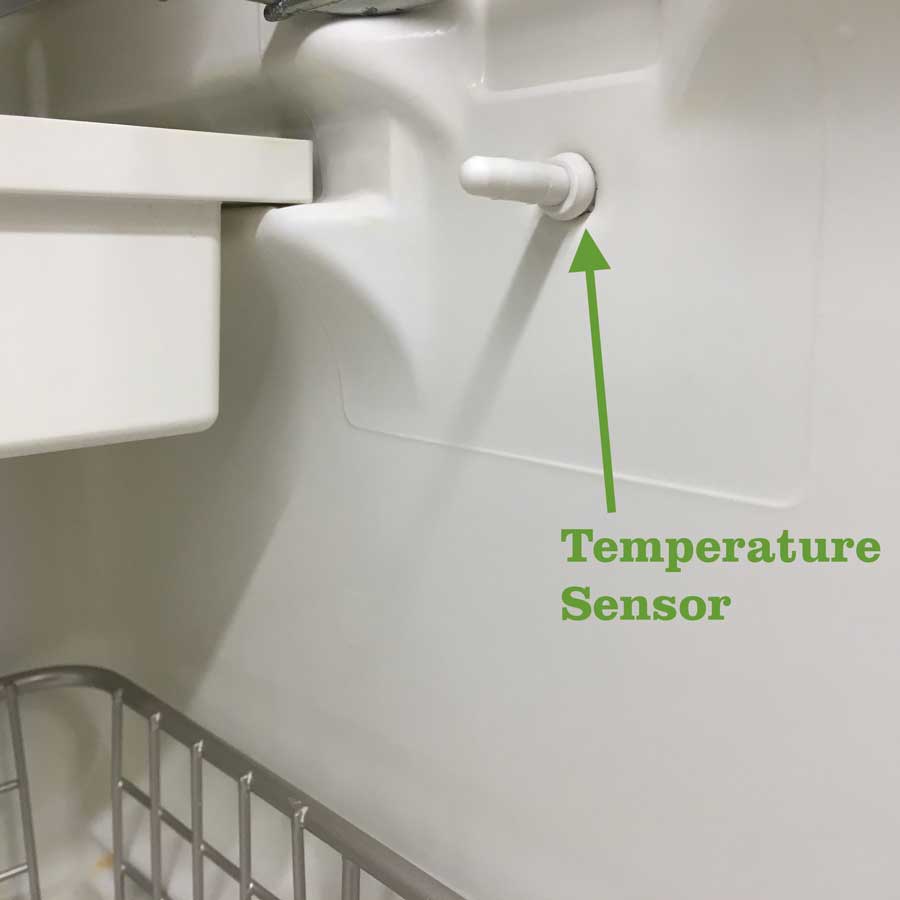
-A digital thermostat to monitor the internal temperature without opening the door.
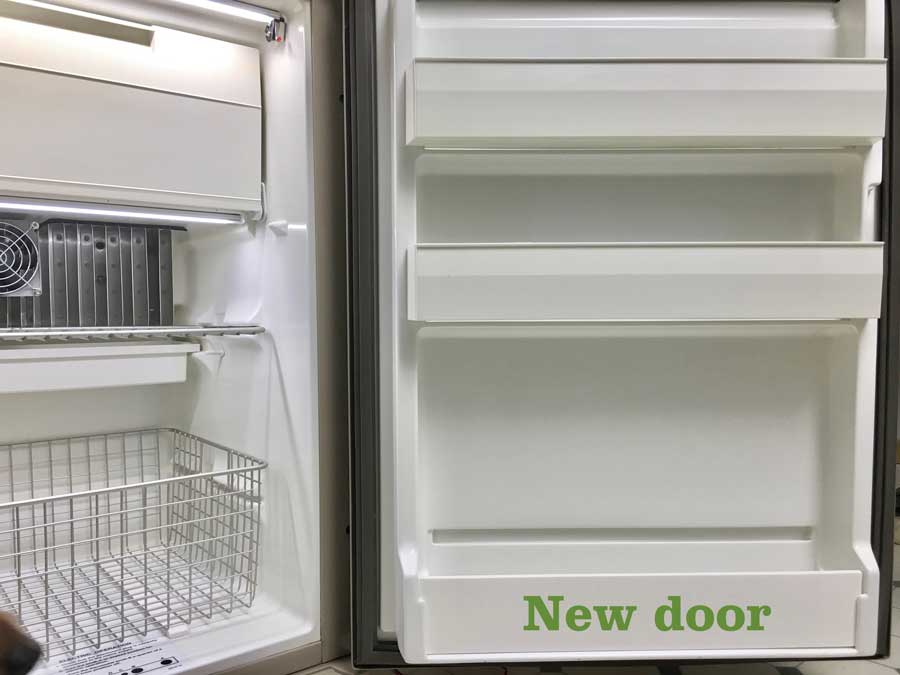
We were missing the bottom shelf and a small plastic tray from the upper shelf of which I can’t figure out the intended function. A Tupperware bin replaced the tray- although the questionable functionality remains, and because we couldn’t locate a replacement shelf we’re using a wire basket on custom bottom rails. It fits perfectly, but we had to make an adjustment to the door’s bottom shelf, reducing its depth. The basket also fits perfectly in our cooler, so we can move it around if needed.
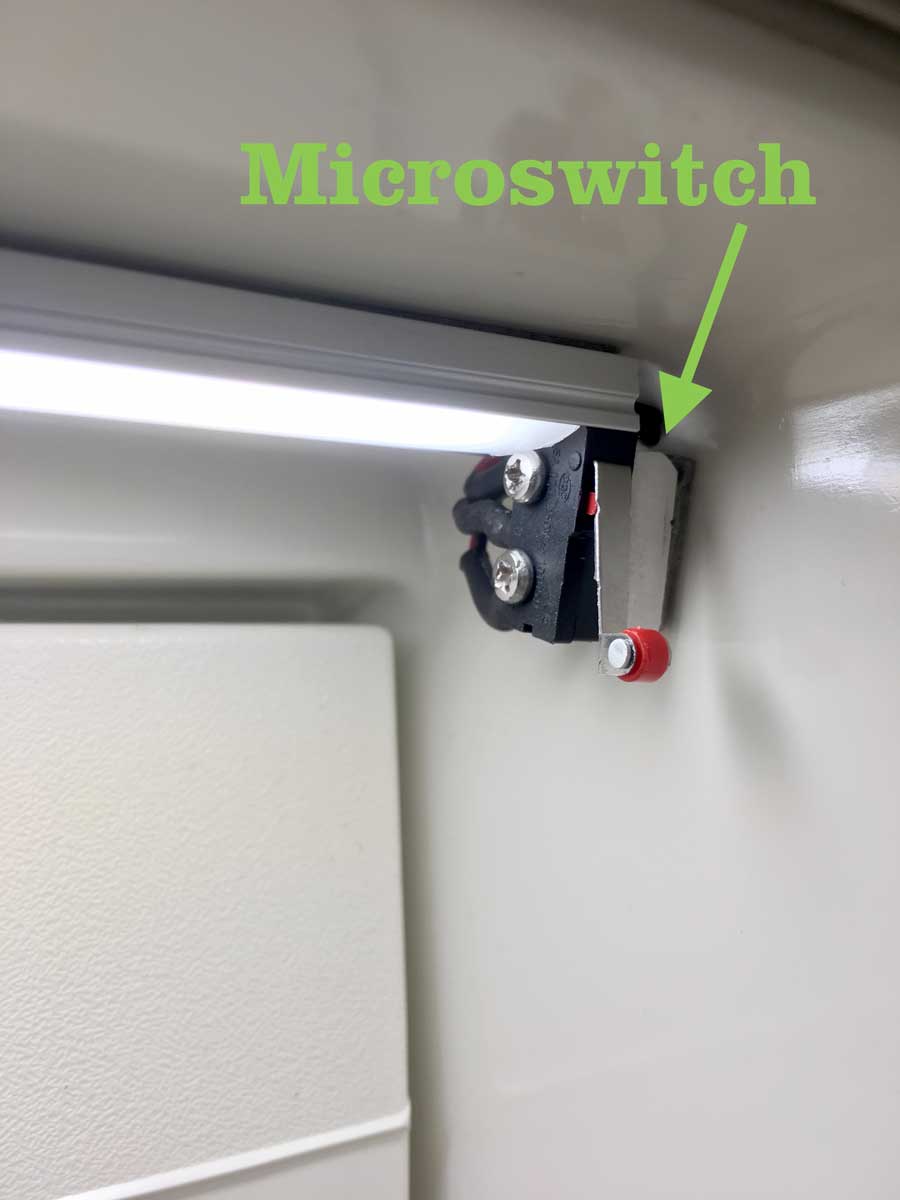
A microswitch alternates power between the fan and the lights so that only the lights are on when the door is open- while the fan is off to prevent it from blowing all the cold air out, and vice-versa.
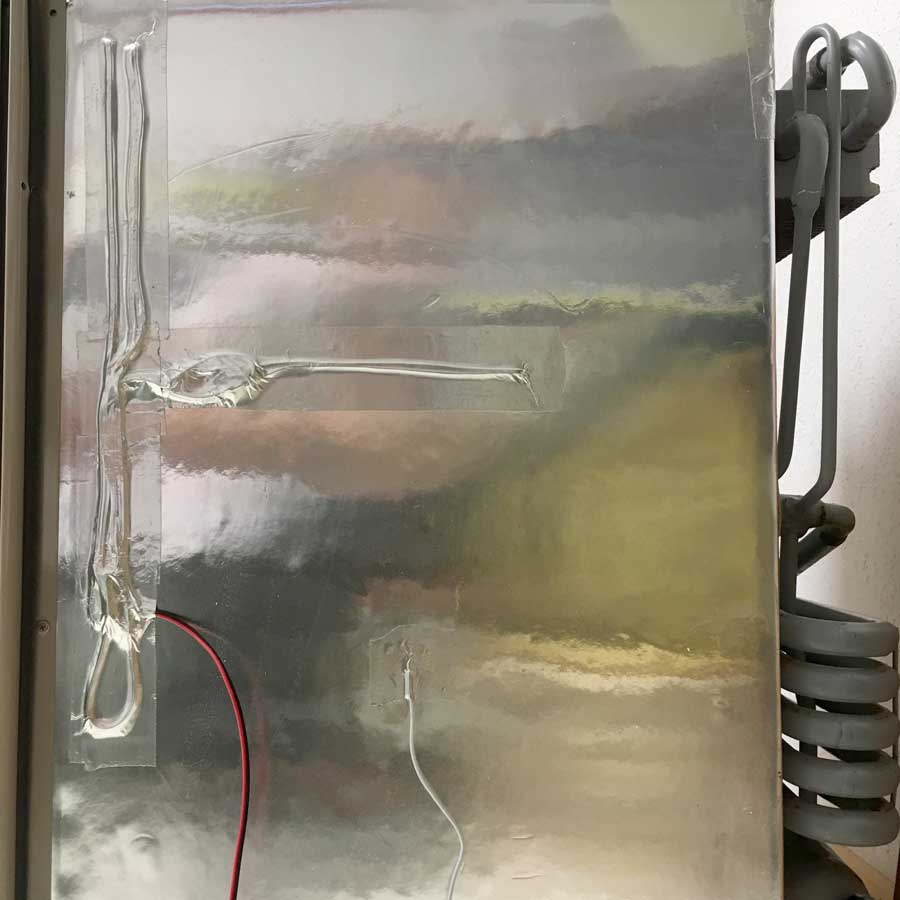
Most of the fridge is a vacuum-formed plastic and styrofoam box, so we were able to make all the wiring clean, drilling small holes through the sides. Aluminum tape sealed everything neatly enough on the outside.
NEW MATTRESSES
Our new camper beds are super comfy.
None of the upholstery foam from our 1999 camper was likely of high quality and was undoubtedly past its lifespan. It would all effortlessly crush flat under our weight. We’ve started with replacing the mattresses.
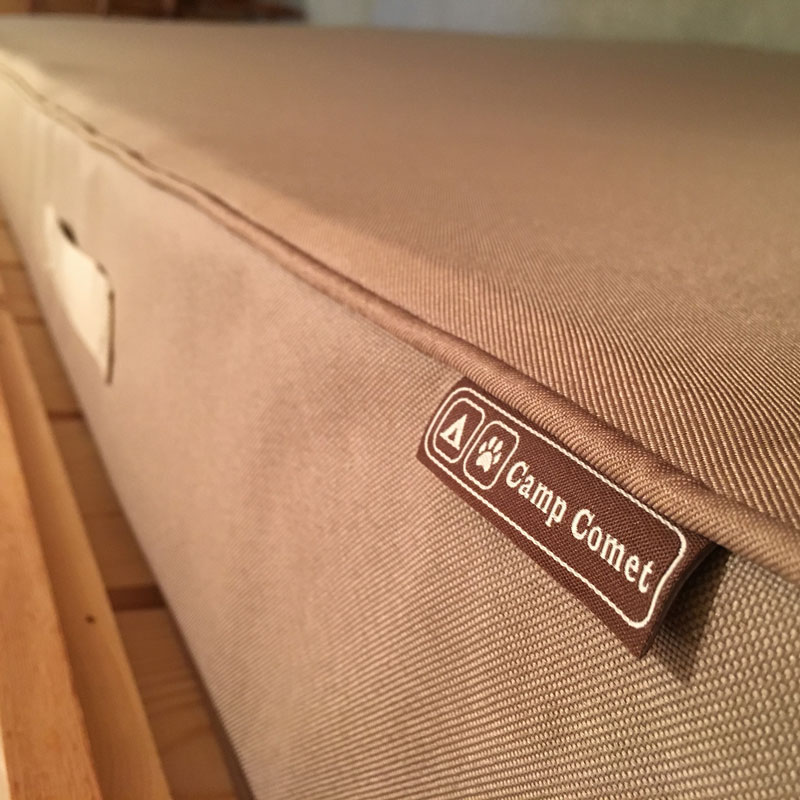
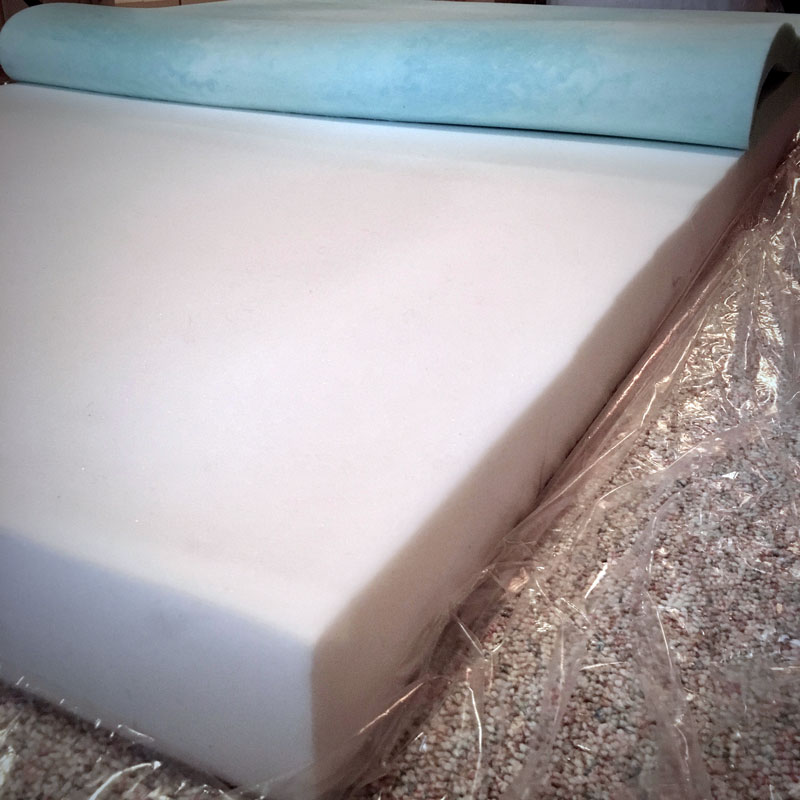
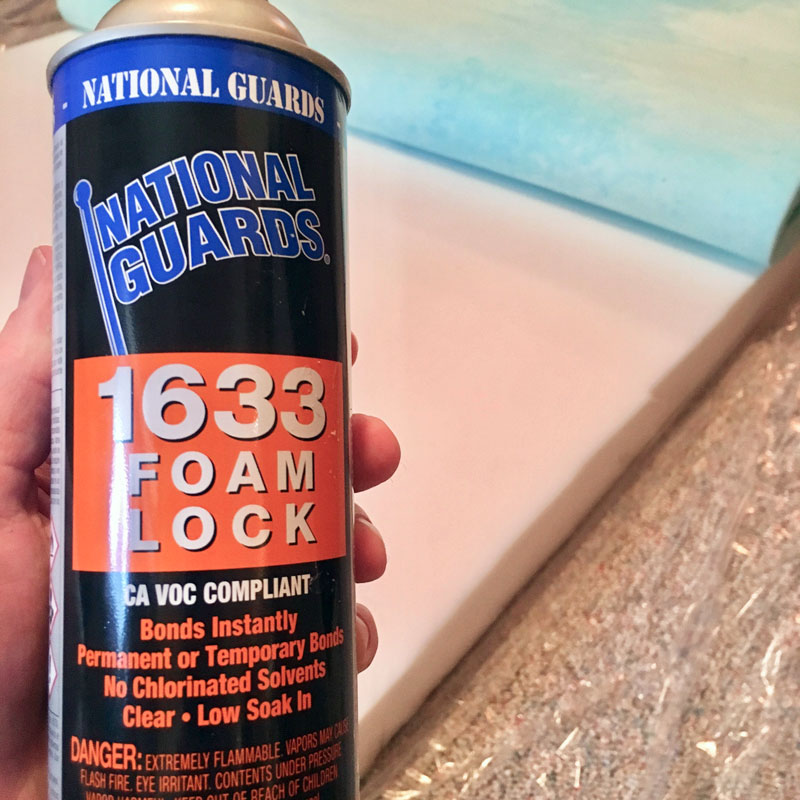
We crafted two new mattresses using a 4″ firm foam base laminated with a 2″ squishy gel-foam topper and all sewn into custom-sewn cases. They are a little thicker than you might find on many campers, but given the number of nights we’ll be sleeping on them, we felt this was a good splurge.
1 bed is a standard queen which would have allowed us more off-the-shelf options, but the second bed is a non-standard size, closest to a full. So to provide the same sleeping experience for both we opted to craft our own.
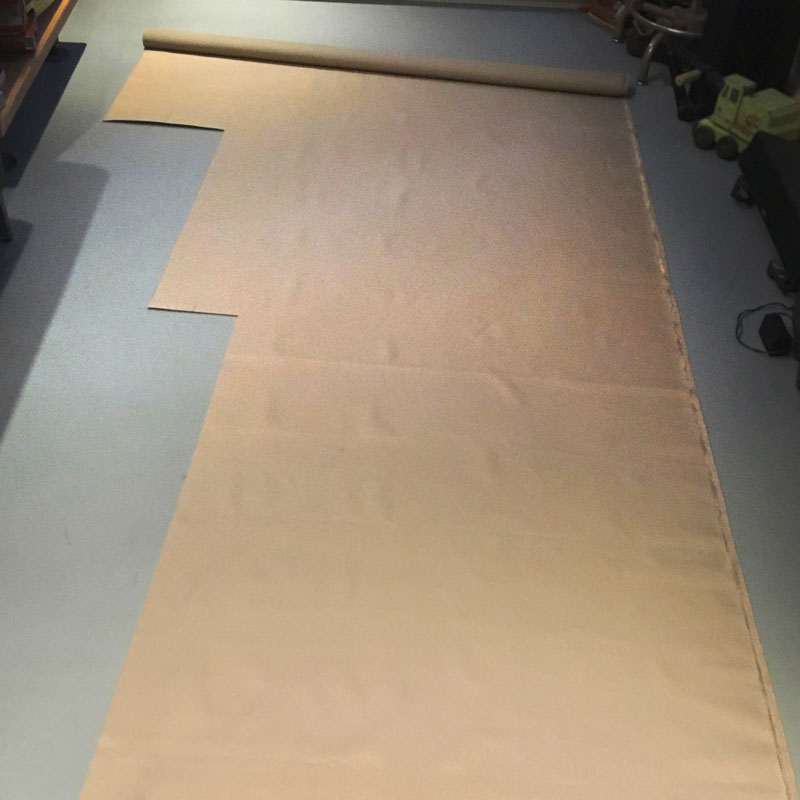
The cases are made from durable fabric in a color that I think should wear well in this environment with webbing straps that make them easy to move around, which we’ll have to do often when moving between sites.
CUSTOM LIGHT FIXTURES
Lighting has such an impact on a space, and it’s one of my favorite tools to really make an environment captivating.
Stock RV lighting was never going to make the cut, and fixtures intended for a home require more space than we have.
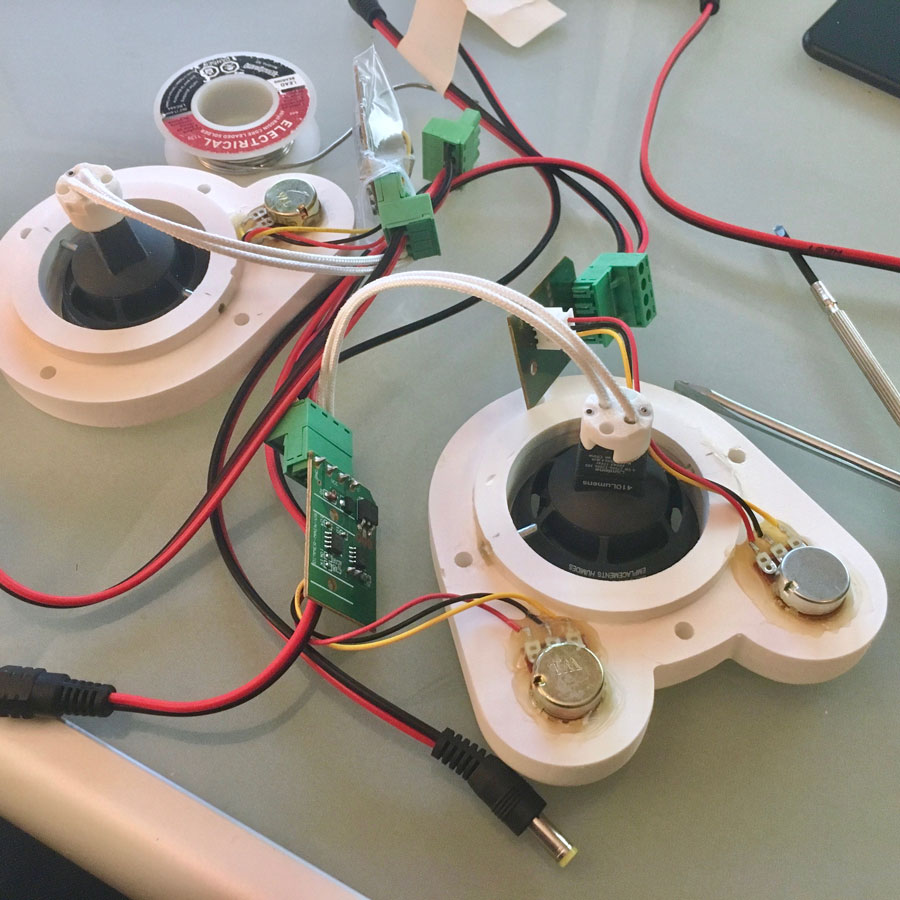
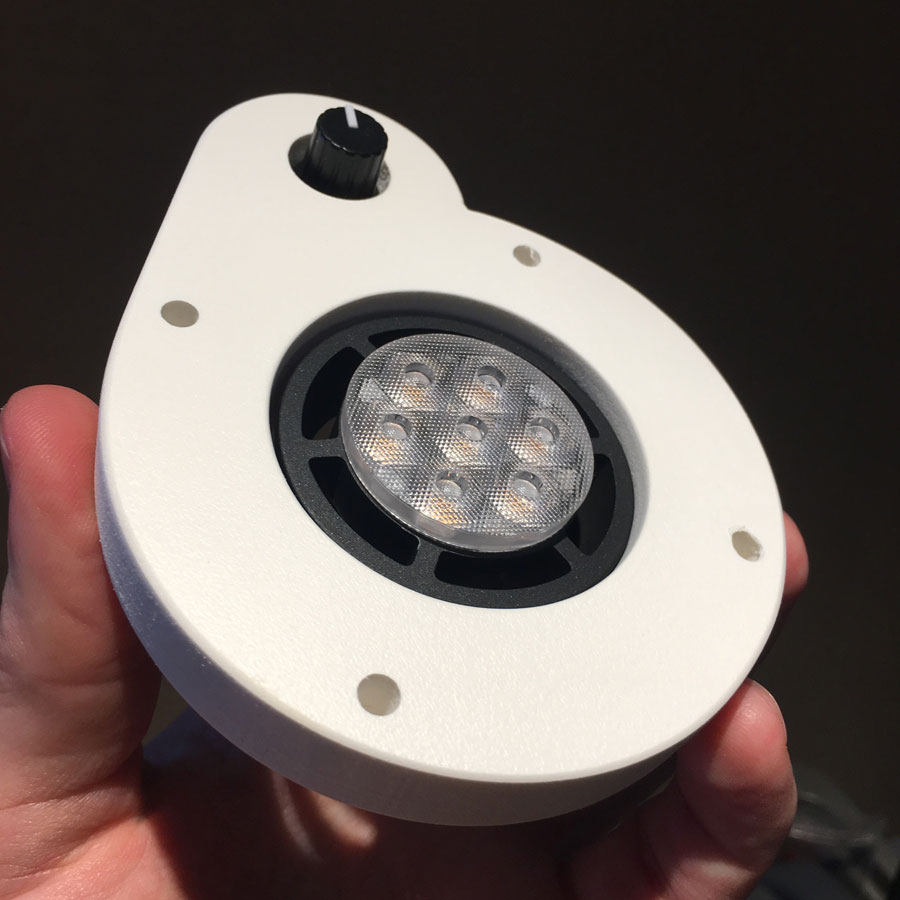
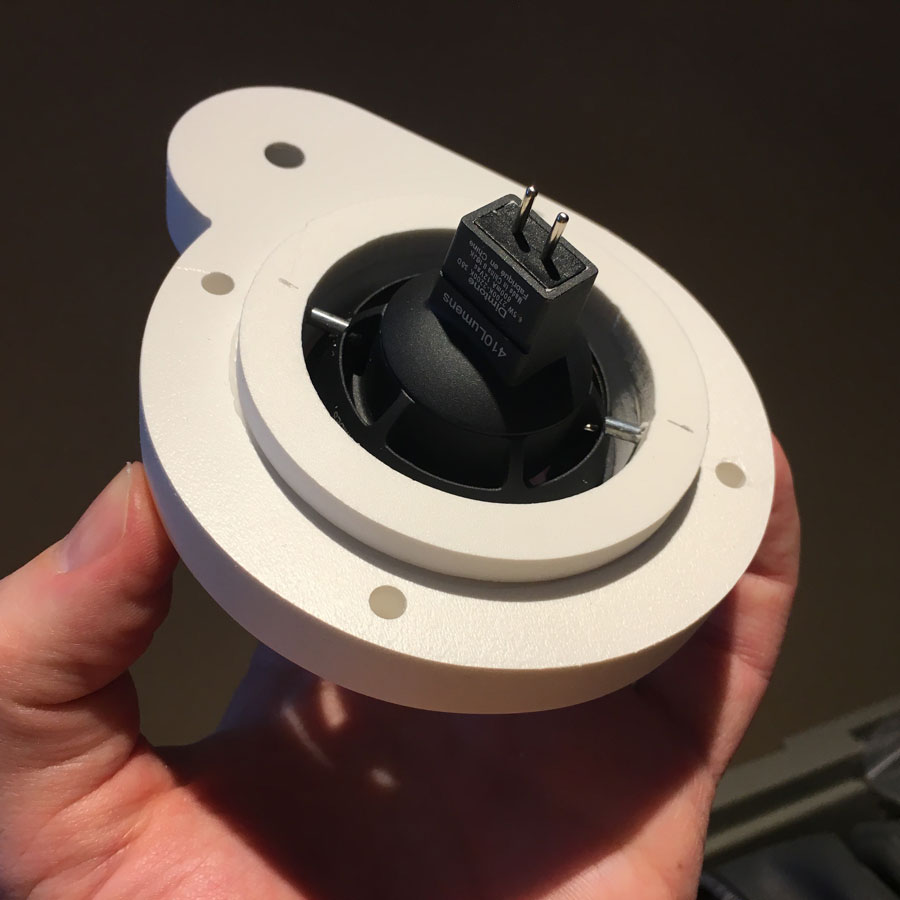
I started with the types of light bulbs I wanted to use and made very simple fixtures for them with built-in dimming controls for both aesthetics and power conservation. The direct-control is also very practical for a small space.
These fixtures are all for MR-16 or MR-11 spotlights.
Everything is a super-low-power LED, and a very warm 2200K color temperature or a tune-able 2700-2200K to replicate incandescent light.
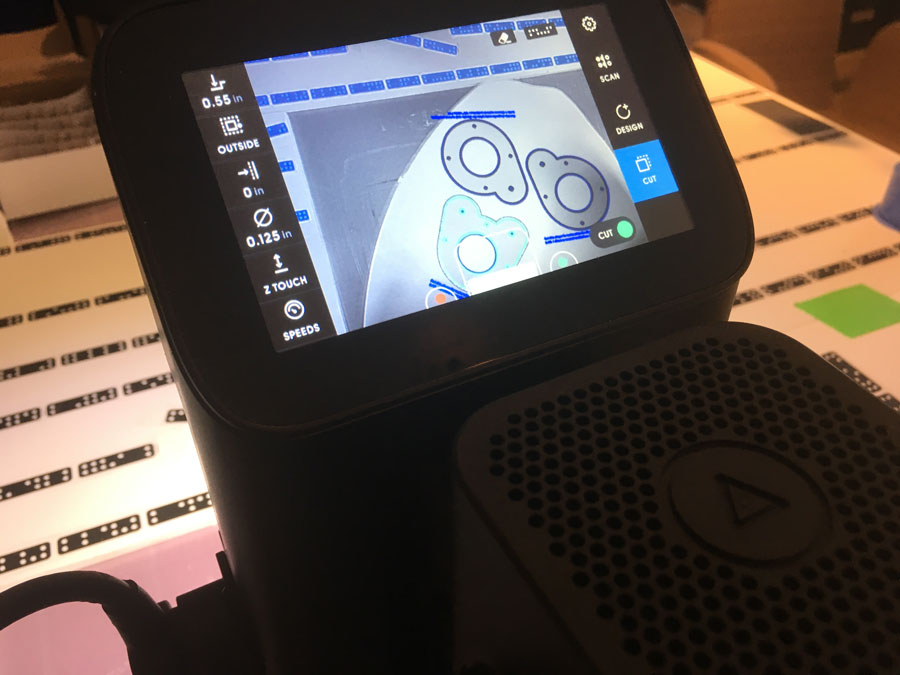
They are made from PVC sheet. We opted for white plastic over wood because of the other original white hardware acccents that will remain through our renovation.
Also seen here is a ceiling plate for the bathroom with a speaker, motion sensor and dimmer control for the LED strip lighting we’re using in there.
Yes, if I haven’t put you to sleep yet, this is all very “extra”. The hope is that all this extra effort in the design will disappear to some extent and make for a very practical and enjoyable experience.

